"Argue not with a fool, lest the level descends and thou art beaten with experience"
The fully extendable classic meme maker
Your step by step guide to classic meme creation
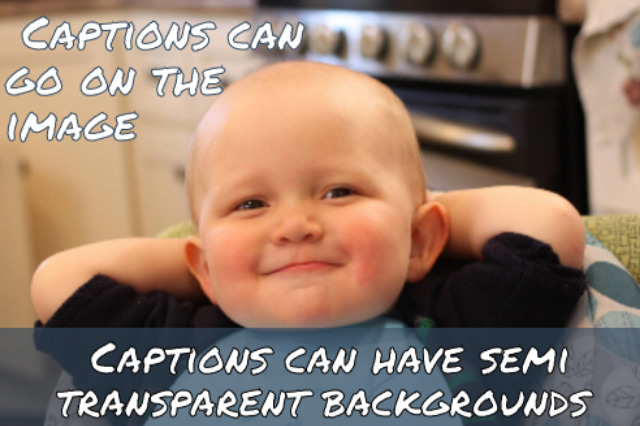
The Classic meme generator allows you to create traditional style memes that normally feature the captions at the top and bottom of the background image. But even this simple generator holds a few pleasant surprises, not least, the image resizer.
The two text areas, top and bottom, are independent of each other, meaning they can be styled differently using the text editor user interface (UI).
Adding, sizing, and positioning images
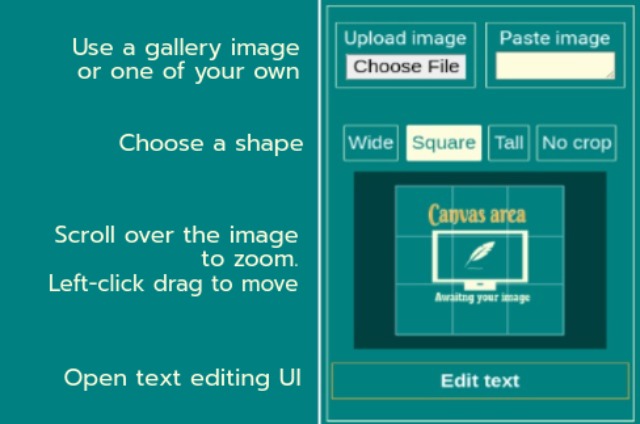
Clicking on a thumbnail image in the gallery will instantly add its full sized version to the UI. alternatively you can upload or copy and paste your photo using the boxes provided.
initially the image will load with its original aspect ratio (shape), defined by the “No crop” button. The other three buttons will crop the image to: landscape, square, and portrait.
After adding an image or changing shape, you may have to click on it (in the UI) to update the canvas.
Zooming and moving your image
Depending on your device: you can resize your image by either scrolling over it, or using pinch-squeeze if you’re on a touch-screen device. Use either left-click drag, or touch-drag to reposition your image.
The “Edit text” button at the bottom will open the text editor for the top caption.
Getting to know the text editor
The Classic has a fully functional text editor for adding, aligning and coloring your captions
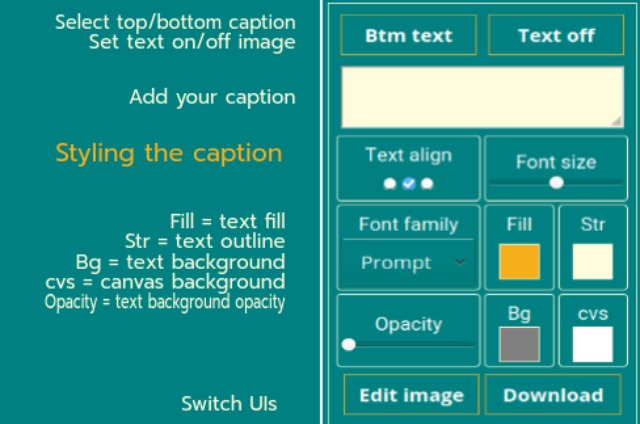
Ensuring the text is clearly visible
Situations may arise when the text blends in to the background image, but with a number of options at our disposal, this should never be a problem.
The most obvious solution is to use the “Fill” and “Str” dropdown color pickers to adjust the text fill and outline colors. However: with multi-colored images, the problem may still persist,
The two text areas already have background colors applied. However: the opacity is set to zero, meaning it’s fully transparent. Move the opacity slider and you’ll see what I mean. To change the background color, use the “Bg” color picker. If this obscures too much of your image, don’t worry, we have another trick up our sleeve.
At the top of the text UI you’ll notice two toggle buttons: one for changing between the top and bottom text areas, and the other to toggle between having the captions on or off the image. Try clicking the “Text off” button and see.
While you can still color the caption backgrounds’ individually, you can do both at once using the “cvs” color picker. If using this option you will need to set the opacity back to zero.
What if I only want one caption area?
If a text area is empty, it collapses, then reforms when a caption is added. With the text position set to off, try removing the placeholder text and see what happens. This works for both top and bottom captions.
Can I have multi-line text?
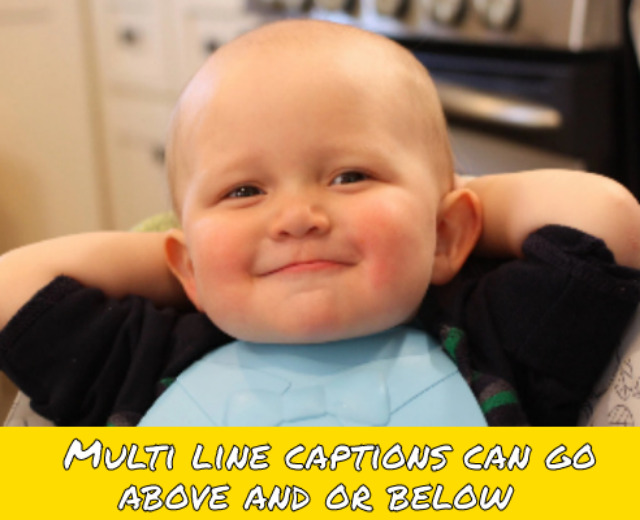
Yes! As well as the ability to align text, left, right. And center, you can *add as many lines as needed by clicking Return on your keyboard, just as you would with a normal text editor. The text will never run off the canvas, instead it will be compressed onto one line until you press return.
*Multi-line text is a feature of all but one of the boxedfx meme generators.
Can text be virtually centered?
Maybe not exactly, but you can push the caption up and down. If you’re editing the top text: place your cursor at the very beginning of the caption in the text input field and press return. Each time you do this, the text will move down one line. Similarly: when editing the bottom text, with the cursor at the very end, click return.
Options for downloading your meme
You can, if you so desire, right-click and either copy or save your meme: however: this will only give you the actual visible size.

For more options, and to open the download UI, click “Download”. Here you can give your meme a name, choose a size, then either download or copy to clipboard and paste it into a document, or directly to social media.
Advanced text editing
While I’ve covered the basics, there are a couple of features that may not be obvious. The first concerns the color pickers.
The very last option is for fully transparent, meaning you can, by setting the fill to transparent, just have the text outline. Setting the “Str” to transparent removes the outline, now depending on which font family you have chosen, doing this will make the letters thicker or thinner. Also be aware that this doesn’t work too good on some of the script fonts.
The second feature, which I’ve already broached upon when explaining how to push text towards the center, allows text to be aligned down one side of the meme.

How I created this meme example
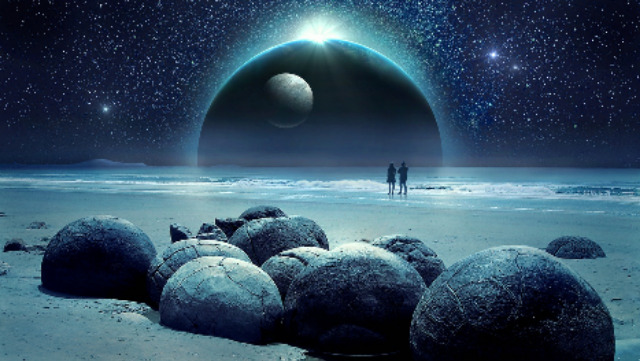
I loaded the image from the gallery and set the shape to wide. Both captions use the Alfa Slab font. The top text has a transparent fill, whereas the bottom has transparent outline.
With the bottom caption, I hit return once when I wanted a new line, and then once more to create the empty line. Notice how the bottom line of text looks smaller. That’s because the text exceeds the width of the canvas and is being compressed. I could have reduced the font size but decided to leave it as it was.
Don’t forget to add a space at the beginning and end of each line if you want to push the text in from the edge.
Other meme generators
Aside from using two images, the Duos works in much the same way as this one, with all the same text editing features. If you want even more text maneuverability, you may want to give the Dragstar a go.
Meme generators